> For the complete documentation index, see [llms.txt](https://docs.plura.io/ko/llms.txt). Markdown versions of documentation pages are available by appending `.md` to page URLs; this page is available as [Markdown](https://docs.plura.io/ko/faq/siem/on-premise/plura-root-ca.md).
# PLURA Root CA 인증서 등록
## 1. PLURA Root CA 인증서 다운로드
* 아래 링크에서 PLURA Root CA 인증서를 다운로드하여 PC에 저장합니다.
>
* 다운로드한 인증서는 각 브라우저의 인증서 등록 절차에 따라 등록합니다.
## 2. 브라우저별 사설 Root CA 인증서 등록 방법
### 2.1 Chrome
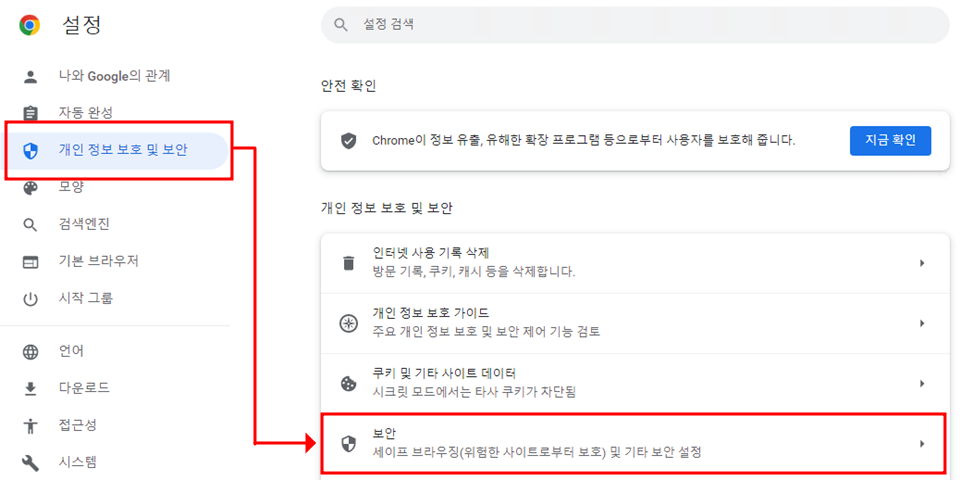
* **설정** > **개인정보 보호 및 보안** > **보안** 메뉴 선택
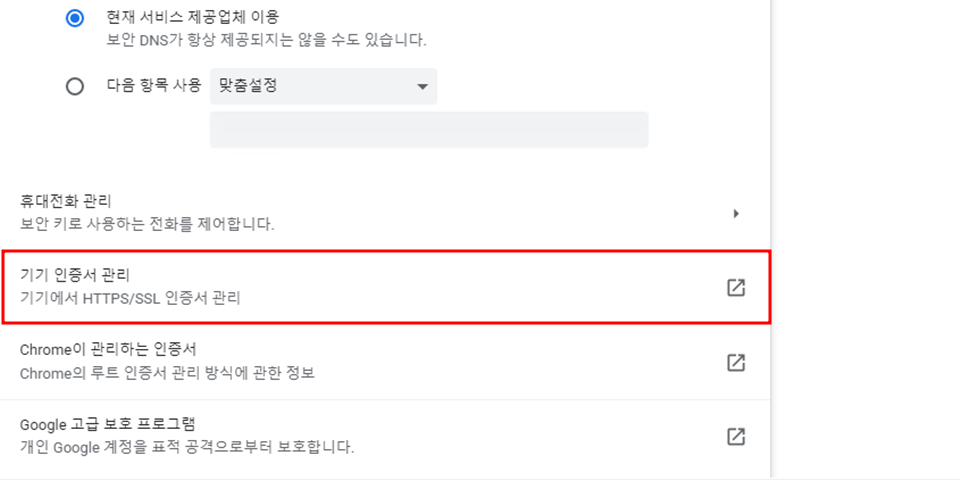
* **기기 인증서 관리** 선택
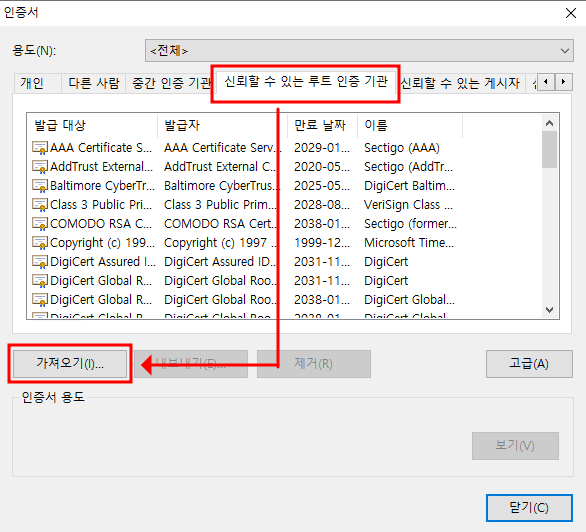
* **인증서** > **신뢰할 수 있는 루트 인증기관** 탭 이동 > **가져오기** 선택
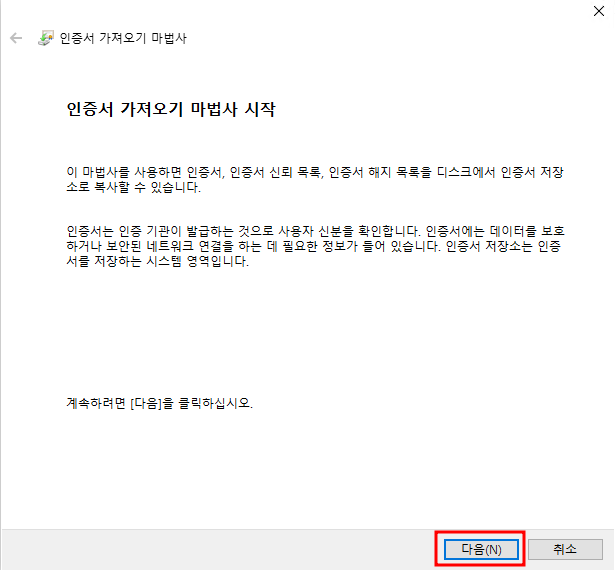
* **인증서 가져오기 마법사** 실행 > **다음** 클릭
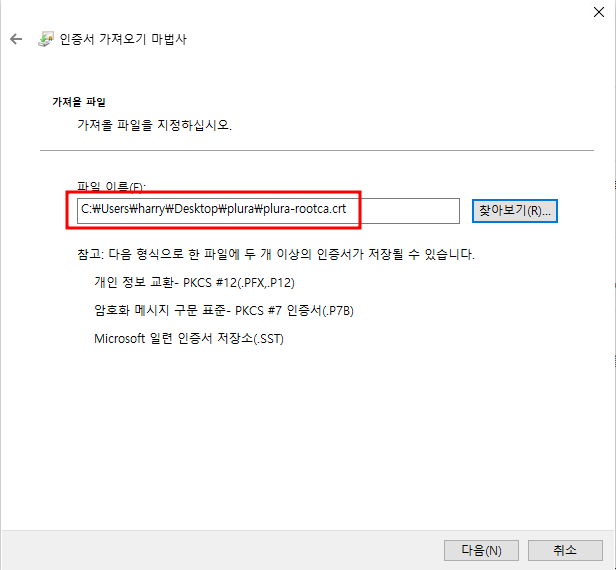
* **찾아보기** 버튼 클릭 > 다운로드한 인증서 선택 > **다음** 클릭
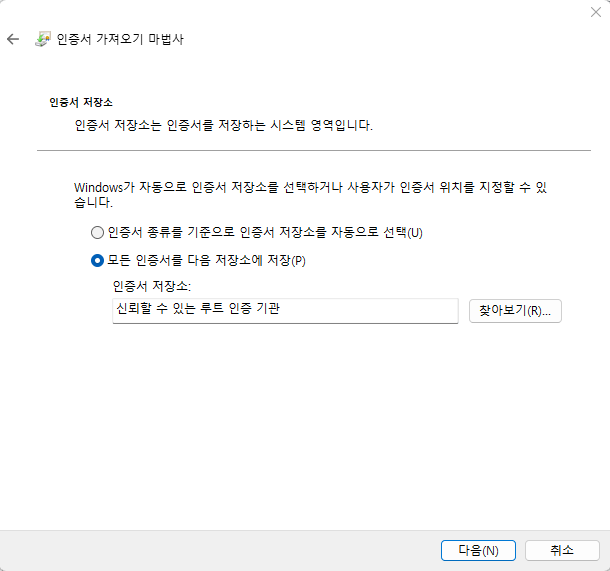
* **모든 인증서를 다음 저장소에 저장**(신뢰할 수 있는 루트 인증기관) 체크 > **다음** 클릭
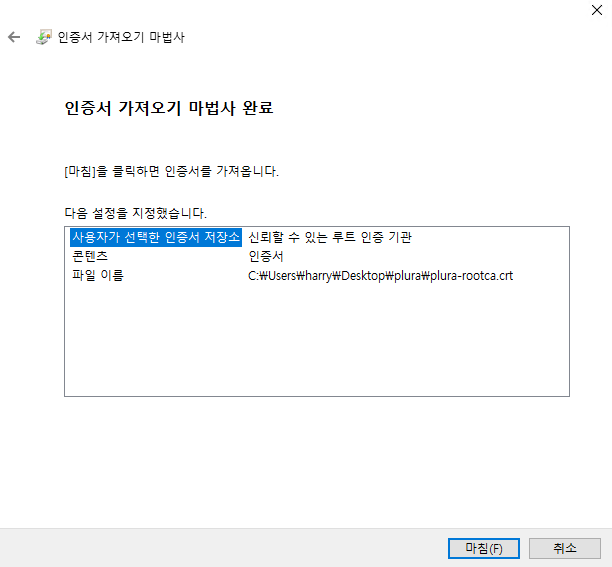
* **인증서 정보 확인** 후 **마침** 클릭
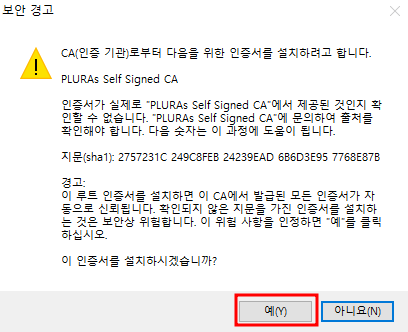
* **보안 경고** 팝업 > **예** 클릭
* **인증서 가져오기 완료** 팝업 > **확인** 클릭
### 2.2 Edge
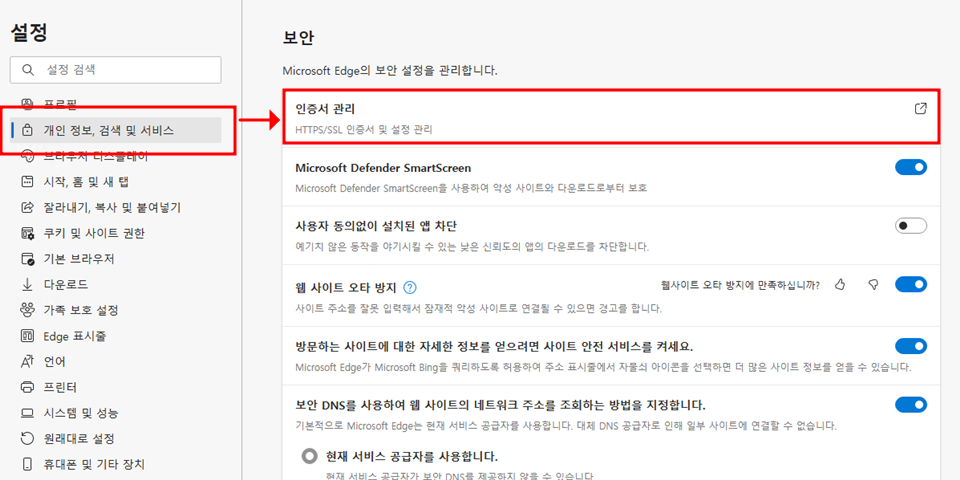
* **설정** > **개인정보, 검색 및 서비스** > **인증서 관리** 선택
* **인증서** > **신뢰할 수 있는 루트 인증기관** 탭 이동 > **가져오기** 선택
* **인증서 가져오기 마법사** 실행 > **다음** 클릭
* **찾아보기** 버튼 클릭 > 다운로드한 인증서 선택 > **다음** 클릭
* **모든 인증서를 다음 저장소에 저장**(신뢰할 수 있는 루트 인증기관) 체크 > **다음** 클릭
* **인증서 정보 확인** 후 **마침** 클릭
* **보안 경고** 팝업 > **예** 클릭
* **인증서 가져오기 완료** 팝업 > **확인** 클릭
### 2.3 Firefox
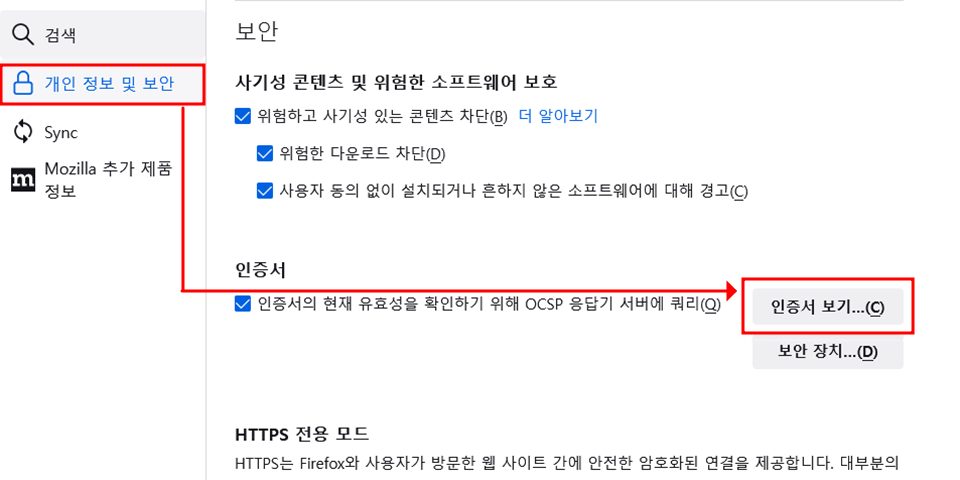
* **설정** > **개인 정보 및 보안** > **인증서 보기** 버튼 클릭
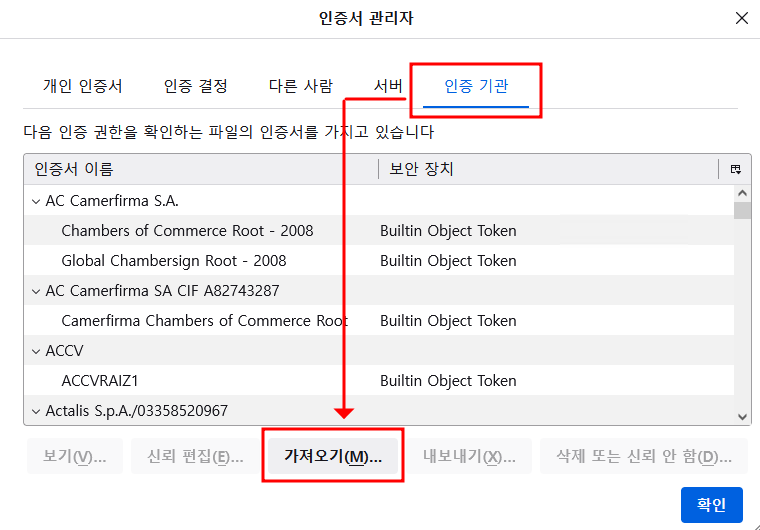
* **인증서 관리자** > **인증기관** 탭 이동 > **가져오기** 버튼 클릭
* 다운로드한 인증서 선택 후 **열기** 클릭
* **신뢰된 인증 기관**(웹 사이트) 체크박스 선택 > **확인** 클릭
***
위 가이드를 따라 각 브라우저에 PLURA Root CA 인증서를 정상적으로 등록할 수 있습니다.
---
# Agent Instructions
This documentation is published with GitBook. GitBook is the documentation platform designed so that both humans and AI agents can read, navigate, and reason over technical content effectively. Learn more at gitbook.com.
## Querying This Documentation
If you need additional information that is not directly available in this page, you can query the documentation dynamically by asking a question.
Perform an HTTP GET request on the current page URL with the `ask` query parameter:
```
GET https://docs.plura.io/ko/faq/siem/on-premise/plura-root-ca.md?ask=
```
The question should be specific, self-contained, and written in natural language.
The response will contain a direct answer to the question and relevant excerpts and sources from the documentation.
Use this mechanism when the answer is not explicitly present in the current page, you need clarification or additional context, or you want to retrieve related documentation sections.